Thursday, October 4, 2012

Jewelry for a Formal Thingy

Made this necklace to wear to a formal thingy at the State Department back in September. First attempt at wire based necklace and I'm pretty pleased with it. 

All the extra do-daws, but the necklace is the best. 

Found a pair of shoes in the 75% off wrack and replaced the hideous pompom with a wire bit, so my jewelry matched from head to toe.


Tuesday, August 28, 2012

Jeweled Hummingbird Feeder


I saw a couple of hummingbirds in my yard the other day and I decided they needed a feeder, so I gathered a few things out of my recycle bin and fired up the glue gun.

I cut the bottom off the frosting container. This will be the base. Then I glued three pieces of straw into the base for the H-birds to get a sip.

Next I had to fill the base with glue, just leaving a well in the bottom for the food to flow to the straw. After I built up the glue, I sealed in the maraschino cherry lid with its ragged hole in the middle. Then seal in lid so that no rain water will leak down into the well.

Time to decorate! My flower petals are from a potato salad lid, but I could have also used the frosting lid. I needed some more sparkle, so I added some flattened marbles and beeds.


To hang it, I used  some of the techniques from the solar lanterns, which you can see here. Then I finished it off with a fish line net to hang it. Within hours of hanging it, I have Hummingbirds! Yayness!

Saturday, July 14, 2012

Building a Solar Lantern

Here is a guideline for making a hanging solar lantern. You can add gewgaws and pretties once you have a basic construction idea.

Supplies
Small glass jar (clean the glue off with rubbing alchohol)
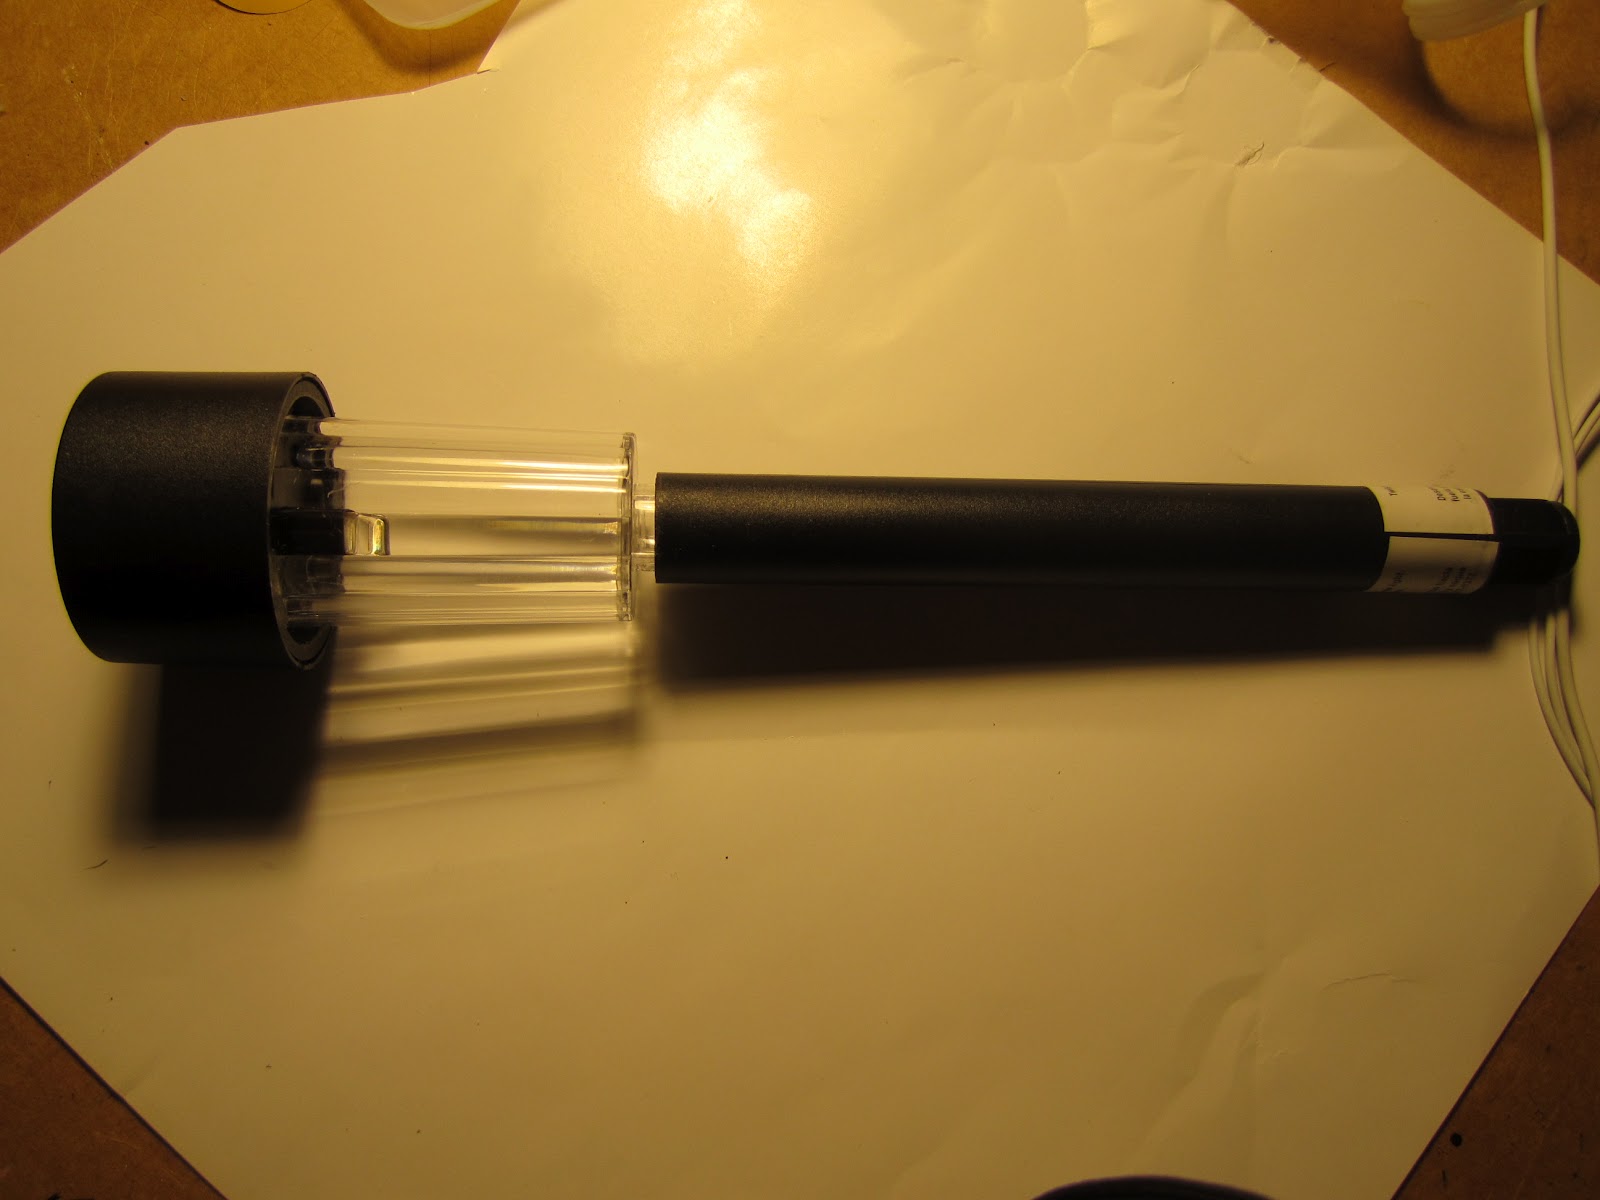
Small solar yard light (removed from stake, but retaining clear plastic piece)
Chain and matching wire (Available at Michaels or bead stores)
Jeweler pliers set
Drill with small bit
Screw driver

1. Trace the outline of the solar light in the center of the lid.

2. Drill holes on the line all the way around. Drill from the top of the lid.

3. Use a screw driver to punch through the metal, again from the top down. This is so the jagged metal is inside the jar and won't cut you. It helps to place a cap (like a milk jug or pill bottle top) under the lid as you do this to prevent the metal from getting bent out of shape.


4. Reassemble the jar and drop the light inside.
5. Cut a piece of chain to go around jar under glass ridge. It has to be tight enough that the jar won't slip out, but loose enough that you can still manipulate it.
6. Measure chain and divide into quarters or thirds depending on your taste.

7. Attach a jump ring at each third (or quarter) point. See below for a how to make jump rings. Try to keep your chain straight and attach the jump rings all on the same side.

8. Measure the desired length of chain in three identical pieces. Attach each one to the jump ring on the main chain.

9. Wrap the main chain around the jar and connect. You can use the links of the chain like a jump ring here so there is no obvious attachment point. This is tricky, like putting on your own bracelet, so be prepared for some swearing.

10. Attach the three chains at the top with a jump ring and you are set!

11. Add a small length of chain to the top and use fishing line to hang it from the ceiling.


Making Jump Rings (You can buy these, but they are easy to make too.)
1. Wrap your wire around something with the proper diameter. I used a bamboo skewer here.

2. Cut rings with your pliers.

Tip: When opening a jump ring, never open it like a packman opening his mouth, but instead twist the opening sideways so you retain the circular shape. Close in the same manner. 

Beaded Links
In some of my lanterns, you can see beads in the chain, here is how to add them. You have to make a beaded link and insert it into the chain.
1. Cut a piece of wire. I have been doing this for a while, so I can guess the length pretty well, but for beginners, its better to cut it a little long since you can always trim the extra.

2. , Using round nose pliers, bend the wire in an eye at one end. I know this looks easier than it is, but I found its best to bend the wire to a 35 degree angle with two flat pliers before you try to make the loop.

3. Add your bead.

4. Put an eye on the other end.

Tip: For opening the eyes on a these, the same rules apply as on opening a jump ring. 

Friday, June 29, 2012

Wine Bottle Koozy from Corks

Made a cork wine bottle koozy.


I drilled the corks and used some basic beadwork stitches to create it. To drill the corks, I held them with clamps that look like large clothes pins while I drilled the hole the long way through the cork. To make my needle, I used a 2" piece of floral wire,crimped at the end to hold the hemp string in place. Next the "beading." First I started with the bugle bead chain. After I chained the proper number of corks, I chained them into a loop.  After I have my first row, I continued with the brick stitch (start at step 7 in the instructions) until I had enough rows. Sounds easy, but was a little more difficult than I anticipated, but overall I think the koozy is cool!

Sunday, June 24, 2012

Solar Suncatcher

I couldn't let my Solar rose be. I just had to turn it into something. Based on the materials I had, I decided to build a floral suncatcher. I wanted to continue using milk jugs because I love the way they look in the sunlight. I used plexiglass as my base. So here it is.

And here is how it looks all lit up.


It's meant to hang in the window to catch light all day and then light up at night. After making this one for my sun room, I wish I had planned it for a bathroom instead. It would make a great privacy screen and night light all at once. However, until I find a better alternative to hot glue, I won't be making any more. See my post on hot glue for more explanations.

Rethinking Hot Glue

I confess, I'm a late comer to the love affair with hot glue. Despite an early start to crafts, I didn't own my very own glue gun until a year ago. It was a hand me down and it blew up. There was fire and cursing, but enough luck involved so I wasn't hurt. The near death experience aside, I really did fall in love with hot glue. That lasted all of a week. Now I am not so sure. Here are my complaints. First, it turned yellow in the sun, so the window hanging project now has a yellow goobers all over. Second, it loosened up in the sunlight and some of the pieces popped loose. I had plans to use it for some outdoor winter crafts, but I don't know how it would do with the cold. Third, the strings drive me nuts. They are like cobwebs everywhere.
However, I don't know of anything that will work better. Hmmm.... Any ideas?

Rose Solar Lights


I made a solar rose using milk jugs. I am pretty stoked about it. Here's how to make your own.
Supplies: Cheap Solar light, Tape, White Spray Paint (not Krylon), Scissors, 1-2 cleaned milk jugs, Hot glue gun, Spare Hot glue gun (in case the first one explodes in a fiery death), Glue sticks, wooden skewer or chopstick, and extra fingers to replace the burned ones. 

 Disassemble the light. Keep the stake for gardening or other craft projects. For this project you only need the part that houses the light.
 Cover the light bulb and the solar panel with tape. Spray paint until coated in white. I used Krylon white and it came out a little tacky. Hopefully you will have better luck with a different brand.

For the very center of the rose I used a piece of the handle from a 1/2 gallon and started gluing petals from there. Use the skewer to press the petals in place until the glue hardens so you don't burn your fingers.


 If your glue starts smoking and the glue comes out yellow, please throw it out before it explodes.*

*Note that the glue stick in the barrel has turned black.
*In other news, I now know that when facing a ball of fire, I do not scream like a baby, but curse like a sailor. Hopefully my toddler never learns this fact about me.


Tip 1 - Use a sharp pencil to etch your line into the milk jug and then you won't have to worry about the line of say a marker showing on your petals.

Tip 1 - It helps to have a curve on attachment point of the petal. They sit in place better.

Tip 2 - The inner petals should be smaller, but the outer petals can all be cut from the same pattern.
And here is your finished rose.


Now, I have some ideas about what I could do with my rose. The important thing is to be aware of how light will charge your rose. The solar panel has to get some light.

1) Flip it over during the day to charge and then use it like a tea light at night. 
2) Cut a loop (see below) to glue around the light and hang it in a window, sun room or on a tree outside for a floating, glowing rose. 
3) Make more and more and more of them to great a hanging, spiraling rose chandelier! 

If you have ideas for where to put them, please comment below. Happy Up-cycling!

Solar Lanterns

New crafty project - Solar lanterns from mustard jars and solar yard lights.