
Tuesday, November 11, 2014
Fall Wreath
I've been wanting to make a fall wreath using natural materials from around the neighborhood for a few years now and here is the result. I like it, but I'll probably make another in the future just because there are so many possibilities.


Saturday, October 18, 2014
Milk Jug Ghosts!
 |
| Make these cute ghosts for your trees with milk jugs. |


Supplies: Clean Milk Jugs, White Plastic Bags, Scissors, Permanent Markers, Twine, Glue Sticks

Cut your plastic into large circles to cover your milk jugs.

Color faces in the appropriate places.
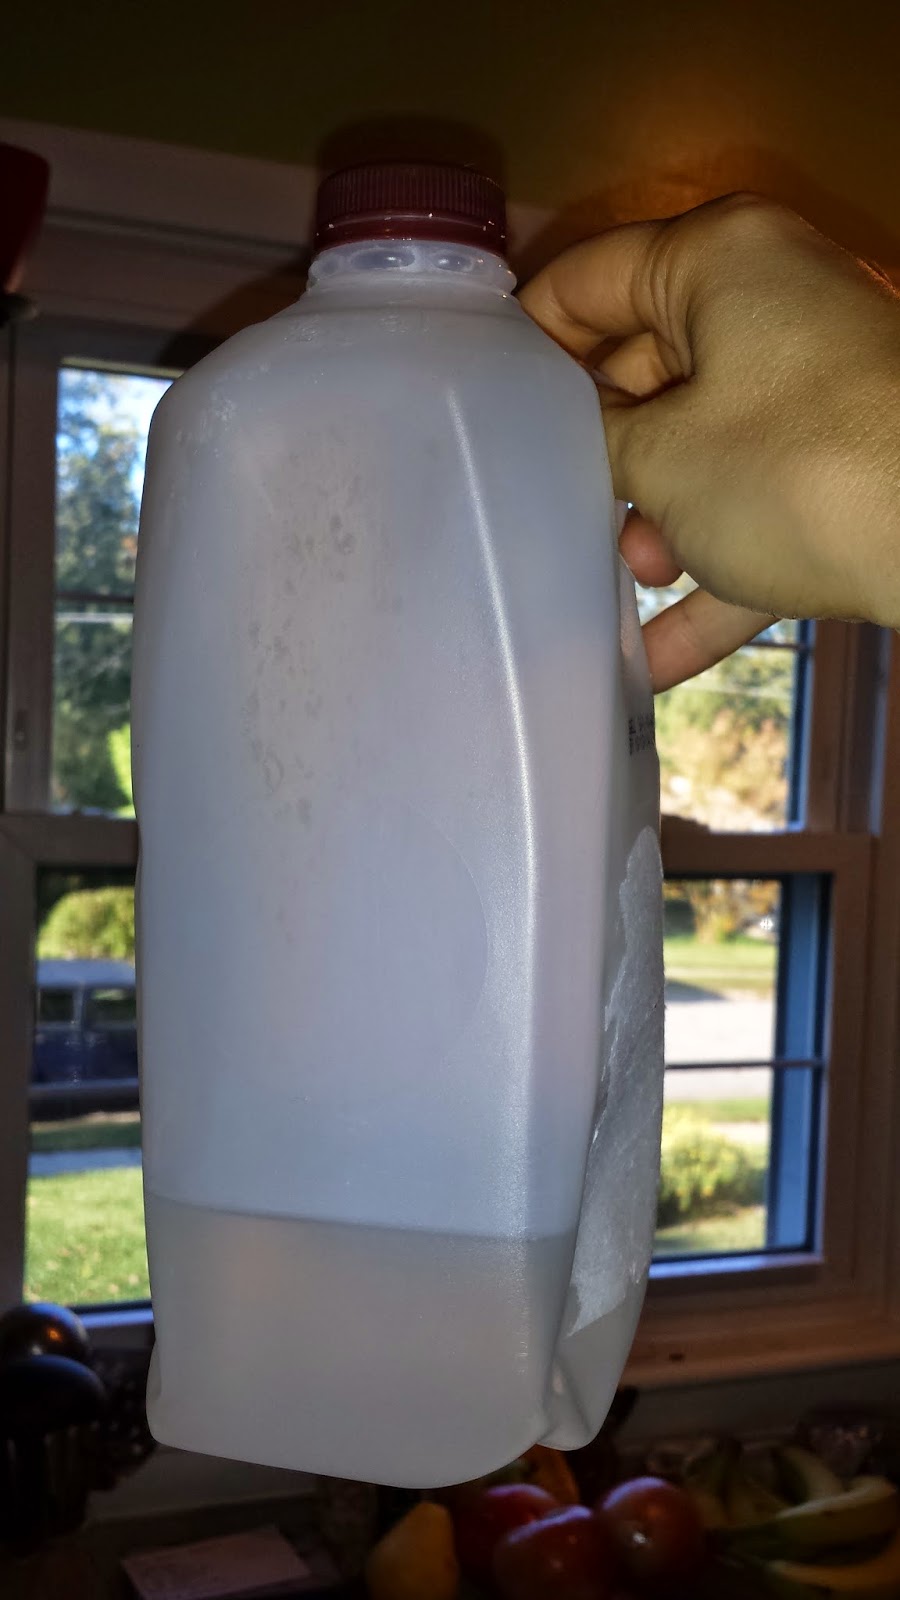
Add some water to the jug to give it some weight.

Drape your plastic over the jug and pierce holes so you can tie the twine to the handle. Smear a little glue on the jugs to keep the plastic in place, but not too much so the plastic can still flutter in the wind.

Wednesday, May 22, 2013
Sewing for the mini-people
I've been doing a bit of sewing over the last few months and here are a few projects. This is an apron I made for my daughter from the kitchen towels that matched my apron.


Here is a project I made for a friend's future baby. It has several functions, I hope. Here it is a car seat cover. The denim is from old blue jeans.
.JPG)
Flip it over and it is a play mat with loops for toys or a diaper changing pad
.JPG)
Button it up and it is a pouch for stuffed toys, towels, clothes, diapers or what ever for outings. Hope my friend gets some use out of it.
.JPG)
Finally a super girlie table cloth and napkins for tea party time!

Next up, I will be sewing some stuff for the little guy that will be joining our family in July!
Wednesday, March 6, 2013
Easter Door Wreath
Decided to make a wreath rather than spend a lot of money on a pre-made one. Probably would have worked out if I had been more savvy about buying the ribbon. As it is, I probably spent as much or more on the homemade wreath. Here it is and some pictures as to how I accomplished it.


To loop the ribbon in these loops, I thought of tying a shoe. I passed a loop of ribbon under the wire and then tied it to the ribbon strand. I used more ribbon than I thought I would, hence the unanticipated cost. For this 10-12" wreath I needed about 10-12 yards of ribbon per row of loops. There are three rows of loops on the finished wreath.

To make the wreath look fuller and finished in the inside edge, I crocheted the ribbon around the inner wire.

Here is the wreath after all the ribbon is looped.

Finally, I hot glued the eggs in place.
What I would do differently: Find a cheap source of ribbon or make rag ribbons from an old sheet. I think the rag ribbons would look really cool, so if some one tries it, please send me a pic. I use real eggs with the rag ribbons and dye them with natural dyes. They should come out looking very antique and would go well with rag ribbon.
With this wreath, I should have glued velcro patches in the wreath and on the eggs, Then when Easter passed, I could have swapped the eggs out for flowers and kept it up a little longer.
All it all it was a fun project!
Monday, March 4, 2013
Onion Skin Flower
Turn an onion skin into a flower. I can't wait to see what a red onion would look like.


Cut the petal so the curve of the onion stalk would be will be where the petal attaches to the wire.
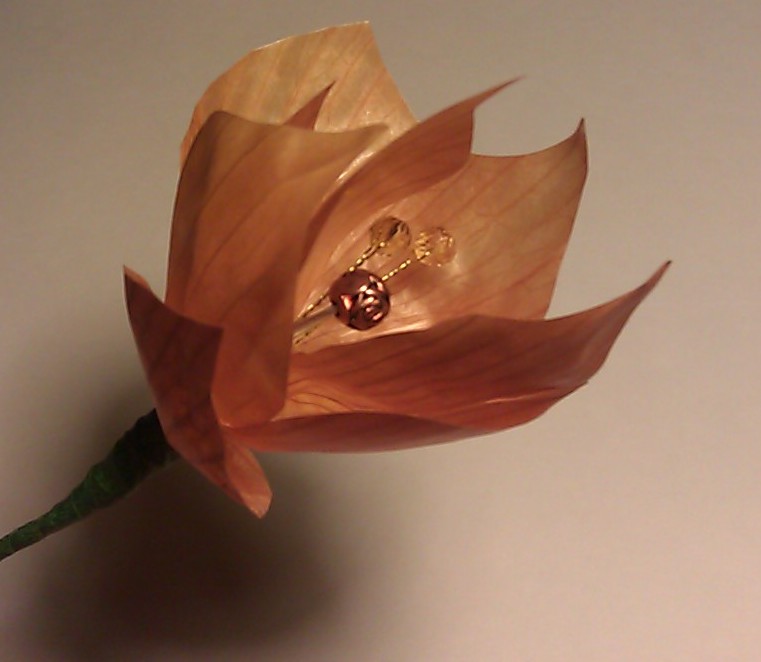
The onion skin was pretty tough and as long as I wasn't too rough on them, the petals didn't tear.
Thursday, October 4, 2012
Jewelry for a Formal Thingy
Made this necklace to wear to a formal thingy at the State Department back in September. First attempt at wire based necklace and I'm pretty pleased with it.

All the extra do-daws, but the necklace is the best.

Found a pair of shoes in the 75% off wrack and replaced the hideous pompom with a wire bit, so my jewelry matched from head to toe.

Tuesday, August 28, 2012
Jeweled Hummingbird Feeder

I saw a couple of hummingbirds in my yard the other day and I decided they needed a feeder, so I gathered a few things out of my recycle bin and fired up the glue gun.

I cut the bottom off the frosting container. This will be the base. Then I glued three pieces of straw into the base for the H-birds to get a sip.


Subscribe to:
Posts (Atom)