Showing posts with label Up-cycle. Show all posts

Monday, March 30, 2020

Wall Art from TP rolls


OK Crafters, sing this next part to the tune of Queen's Princes of the Universe. 

Here we are, 
stuck in our house with no craft supplies. 
Born to be Queens of craftiness, 
We've been here too long.
Fighting to survive the darkness of boredom. 

Ok, so maybe that is a little too dramatic and all but in the times of COVid19 we have to take our fun where we can get it. So we are going to hit up the recycle bin again for some materials. You need TP rolls and any other round cardboard food containers you can find. 


You will also need scissors (and possibly a fine hand saw if your cardboard tube is really thick), hot glue gun, primer spray paint and spray paint. 

Step 1: Cut your recycled containers into strips. A TP role can be cut into six segments. Use a hand saw or something for really sturdy containers like a peanut container. 


Step 2: Use the hot glue gun to glue them into flower and leaf shapes.


Step 3: Arrange them into larger configurations.
Step 4: Spray with Primer.
Step 5: Spray with color of your choice. Metallics or black wrought iron for a classic look or fun colors for a cheerful decor.


Hang on your wall using small brads or even tacks. The completed project is very light but may need several placed in strategic locations. Send Pics! I'd love to see them!


Monday, December 7, 2015

Modge Podge Madness

I hate throwing away little pictures of my children even if they are just the proof image on a photo order, so I've solved my problem and made some fun things along the way.

Project 1

Instead of tossing the little 1x1.5" proof image that came with my daughter's school pictures, I modge  podged it onto a wooden cube.


After it had dried, I hot glued a few ribbon pieces* for a present shaped ornament for the tree. 


Project 2

'Tis the time of year for photobooks and there is usually an invoice with a small image of the cover of your book on it. Cut out small faces and modge podge them to a flat clear marble. 


After they dry, glue a magnet to the back and you have fridge magnets with faces***. 


Project 3 

Save the Christmas cards from friends that include photos of their family and children. Next year you can make a gift tag/ornament for their family with those photos and a little modgepodge, paper and ribbon. 

Happy Holidays!!!

#modgepodge #ornaments #fridgemagnets


*Tip - Seal the ends of cut nylon ribbon with flame**.
** Tip - Use your fire over a sink in case you start a larger fire than intended.
***Warning -  Keep small magnets away from babies and toddlers. Internal injury is a possibility if swallowed. 

Saturday, October 18, 2014

Milk Jug Ghosts!

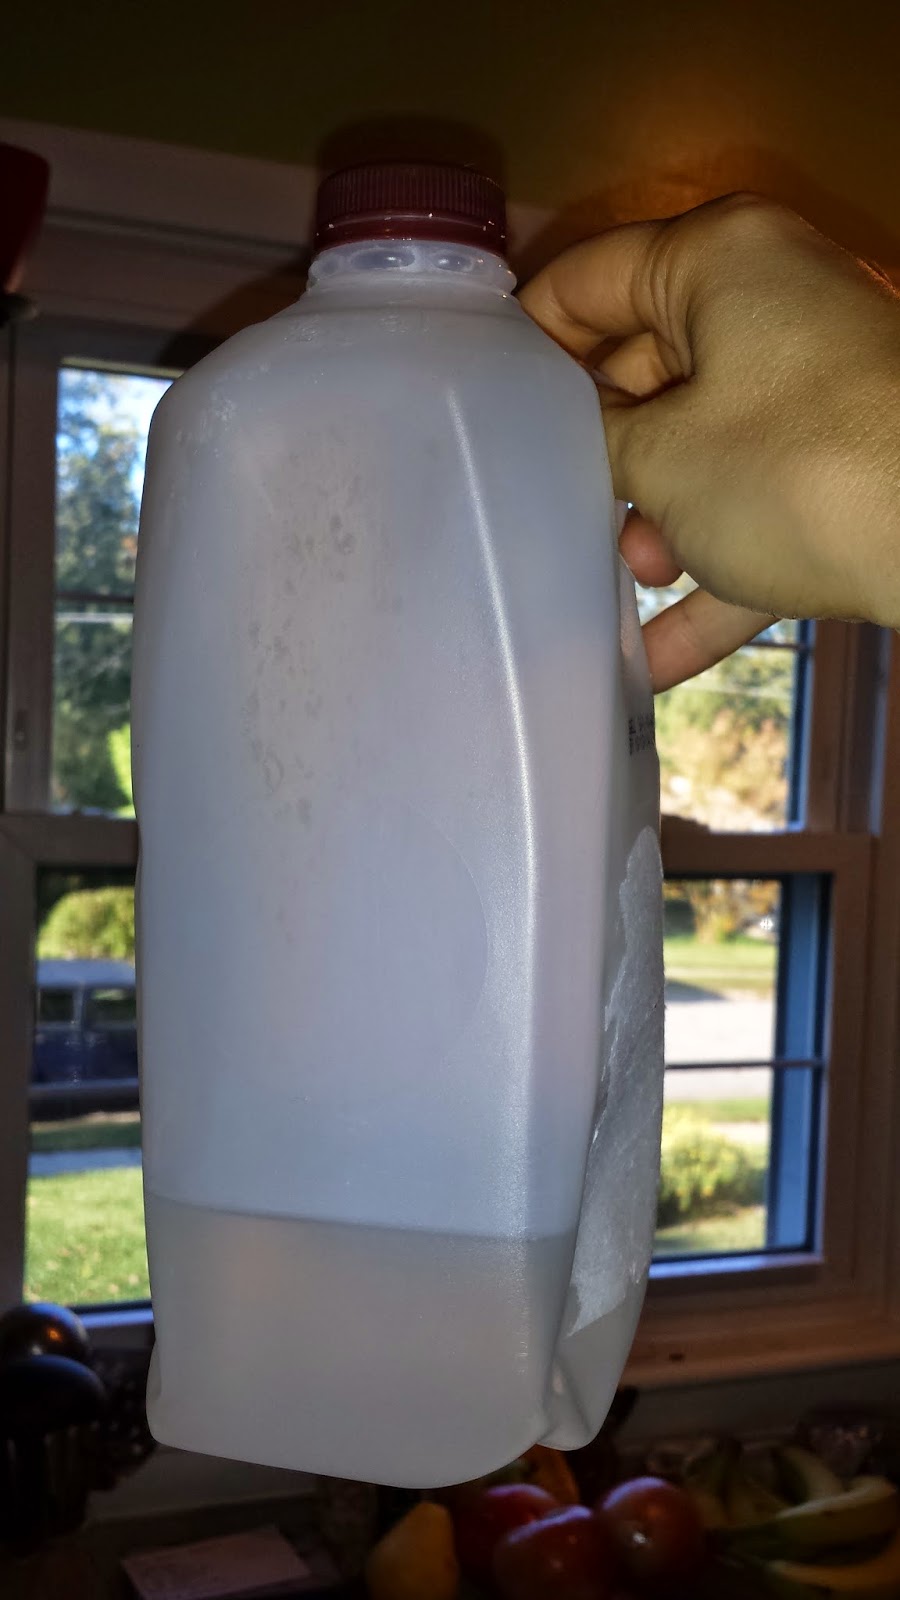
Make these cute ghosts for your trees with milk jugs.


Supplies: Clean Milk Jugs, White Plastic Bags, Scissors, Permanent Markers, Twine, Glue Sticks


Cut your plastic into large circles to cover your milk jugs.


Color faces in the appropriate places.

Add some water to the jug to give it some weight.


Drape your plastic over the jug and pierce holes so you can tie the twine to the handle. Smear a little glue on the jugs to keep the plastic in place, but not too much so the plastic can still flutter in the wind. 


Hang in the trees. Add more faces if you want and peel up plastic to save for next year, while emptying the jugs and recycling them. Happy Halloween!!

Wednesday, May 22, 2013

Sewing for the mini-people

I've been doing a bit of sewing over the last few months and here are a few projects. This is an apron I made for my daughter from the kitchen towels that matched my apron. 


Here is a project I made for a friend's future baby. It has several functions, I hope. Here it is a car seat cover. The denim is from old blue jeans.

Flip it over and it is a play mat with loops for toys or a diaper changing pad


Button it up and it is a pouch for stuffed toys, towels, clothes, diapers or what ever for outings. Hope my friend gets some use out of it. 


Finally a super girlie table cloth and napkins for tea party time!

Next up, I will be sewing some stuff for the little guy that will be joining our family in July!

Monday, March 4, 2013

Onion Skin Flower

Turn an onion skin into a flower. I can't wait to see what a red onion would look like.

Cut the petal so the curve of the onion stalk would be will be where the petal attaches to the wire.


The onion skin was pretty tough and as long as I wasn't too rough on them, the petals didn't tear.

Tuesday, August 28, 2012

Jeweled Hummingbird Feeder


I saw a couple of hummingbirds in my yard the other day and I decided they needed a feeder, so I gathered a few things out of my recycle bin and fired up the glue gun.

I cut the bottom off the frosting container. This will be the base. Then I glued three pieces of straw into the base for the H-birds to get a sip.

Next I had to fill the base with glue, just leaving a well in the bottom for the food to flow to the straw. After I built up the glue, I sealed in the maraschino cherry lid with its ragged hole in the middle. Then seal in lid so that no rain water will leak down into the well.

Time to decorate! My flower petals are from a potato salad lid, but I could have also used the frosting lid. I needed some more sparkle, so I added some flattened marbles and beeds.


To hang it, I used  some of the techniques from the solar lanterns, which you can see here. Then I finished it off with a fish line net to hang it. Within hours of hanging it, I have Hummingbirds! Yayness!

Saturday, July 14, 2012

Building a Solar Lantern

Here is a guideline for making a hanging solar lantern. You can add gewgaws and pretties once you have a basic construction idea.

Supplies
Small glass jar (clean the glue off with rubbing alchohol)
Small solar yard light (removed from stake, but retaining clear plastic piece)
Chain and matching wire (Available at Michaels or bead stores)
Jeweler pliers set
Drill with small bit
Screw driver

1. Trace the outline of the solar light in the center of the lid.

2. Drill holes on the line all the way around. Drill from the top of the lid.

3. Use a screw driver to punch through the metal, again from the top down. This is so the jagged metal is inside the jar and won't cut you. It helps to place a cap (like a milk jug or pill bottle top) under the lid as you do this to prevent the metal from getting bent out of shape.


4. Reassemble the jar and drop the light inside.
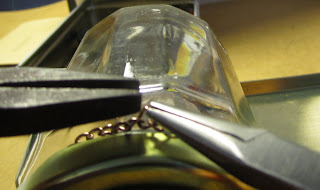
5. Cut a piece of chain to go around jar under glass ridge. It has to be tight enough that the jar won't slip out, but loose enough that you can still manipulate it.
6. Measure chain and divide into quarters or thirds depending on your taste.

7. Attach a jump ring at each third (or quarter) point. See below for a how to make jump rings. Try to keep your chain straight and attach the jump rings all on the same side.

8. Measure the desired length of chain in three identical pieces. Attach each one to the jump ring on the main chain.

9. Wrap the main chain around the jar and connect. You can use the links of the chain like a jump ring here so there is no obvious attachment point. This is tricky, like putting on your own bracelet, so be prepared for some swearing.

10. Attach the three chains at the top with a jump ring and you are set!

11. Add a small length of chain to the top and use fishing line to hang it from the ceiling.


Making Jump Rings (You can buy these, but they are easy to make too.)
1. Wrap your wire around something with the proper diameter. I used a bamboo skewer here.

2. Cut rings with your pliers.

Tip: When opening a jump ring, never open it like a packman opening his mouth, but instead twist the opening sideways so you retain the circular shape. Close in the same manner. 

Beaded Links
In some of my lanterns, you can see beads in the chain, here is how to add them. You have to make a beaded link and insert it into the chain.
1. Cut a piece of wire. I have been doing this for a while, so I can guess the length pretty well, but for beginners, its better to cut it a little long since you can always trim the extra.

2. , Using round nose pliers, bend the wire in an eye at one end. I know this looks easier than it is, but I found its best to bend the wire to a 35 degree angle with two flat pliers before you try to make the loop.

3. Add your bead.

4. Put an eye on the other end.

Tip: For opening the eyes on a these, the same rules apply as on opening a jump ring.